Spring Berets and clothing for dolls

For years now I’ve been trying to make a spring beret for myself.  I knit very fast and most berets are knit in the round, which makes this an easy project to accomplish. But I have finally accepted the source of my many failures.  Try as I might, I simply cannot create a light spring beret from DK yarn.  I will have to go backwards: find a pattern and then buy (yikes!) the yarn they recommend.  That will be a first.

In other news, I’ve been working on some gifts for my kids and decided to make clothing for their dolls.  Here are some of my creations:

Doll's dress with lace Doll's dress with Velcro closure and lace

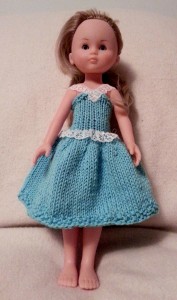
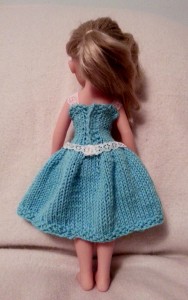
This dress was so simple to make that I am astonished how good it looks.  I wish I could tell you the yarn, but I have no idea where it came from.  I found it in my stash, balled up and unlabeled.  It’s a cotton blend.  Here are some very sketchy directions: Cast on 36 sts and work for 4 rows in seed st.  Then keeping the first and last 4 stitches in seed stitch for the closure, work the rest of the stitches in stockinette stitch for about 2″.  Join in the round and work 2 rows in teh round.  Knit 2, m1 all around, then knit one round even.  Then Knit 3, m1, and continue this way until you have done Knit 5, m1.  Then knit evenly for 4″, and finish with another 4 rows of seed stitch.  I added 2 straps and a belt detail with 1/2″ lace I had on hand.

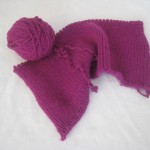
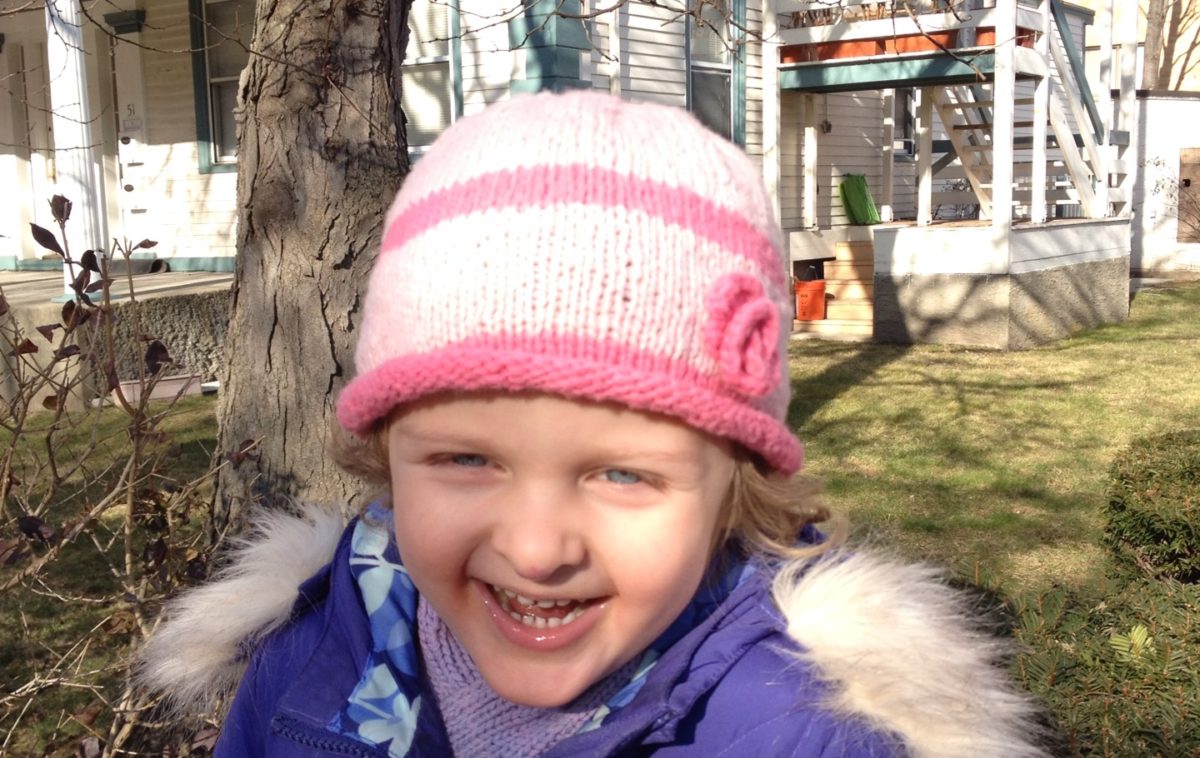
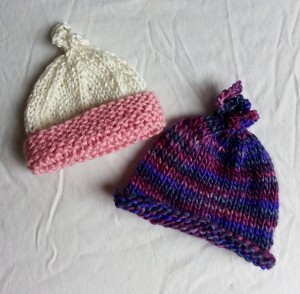
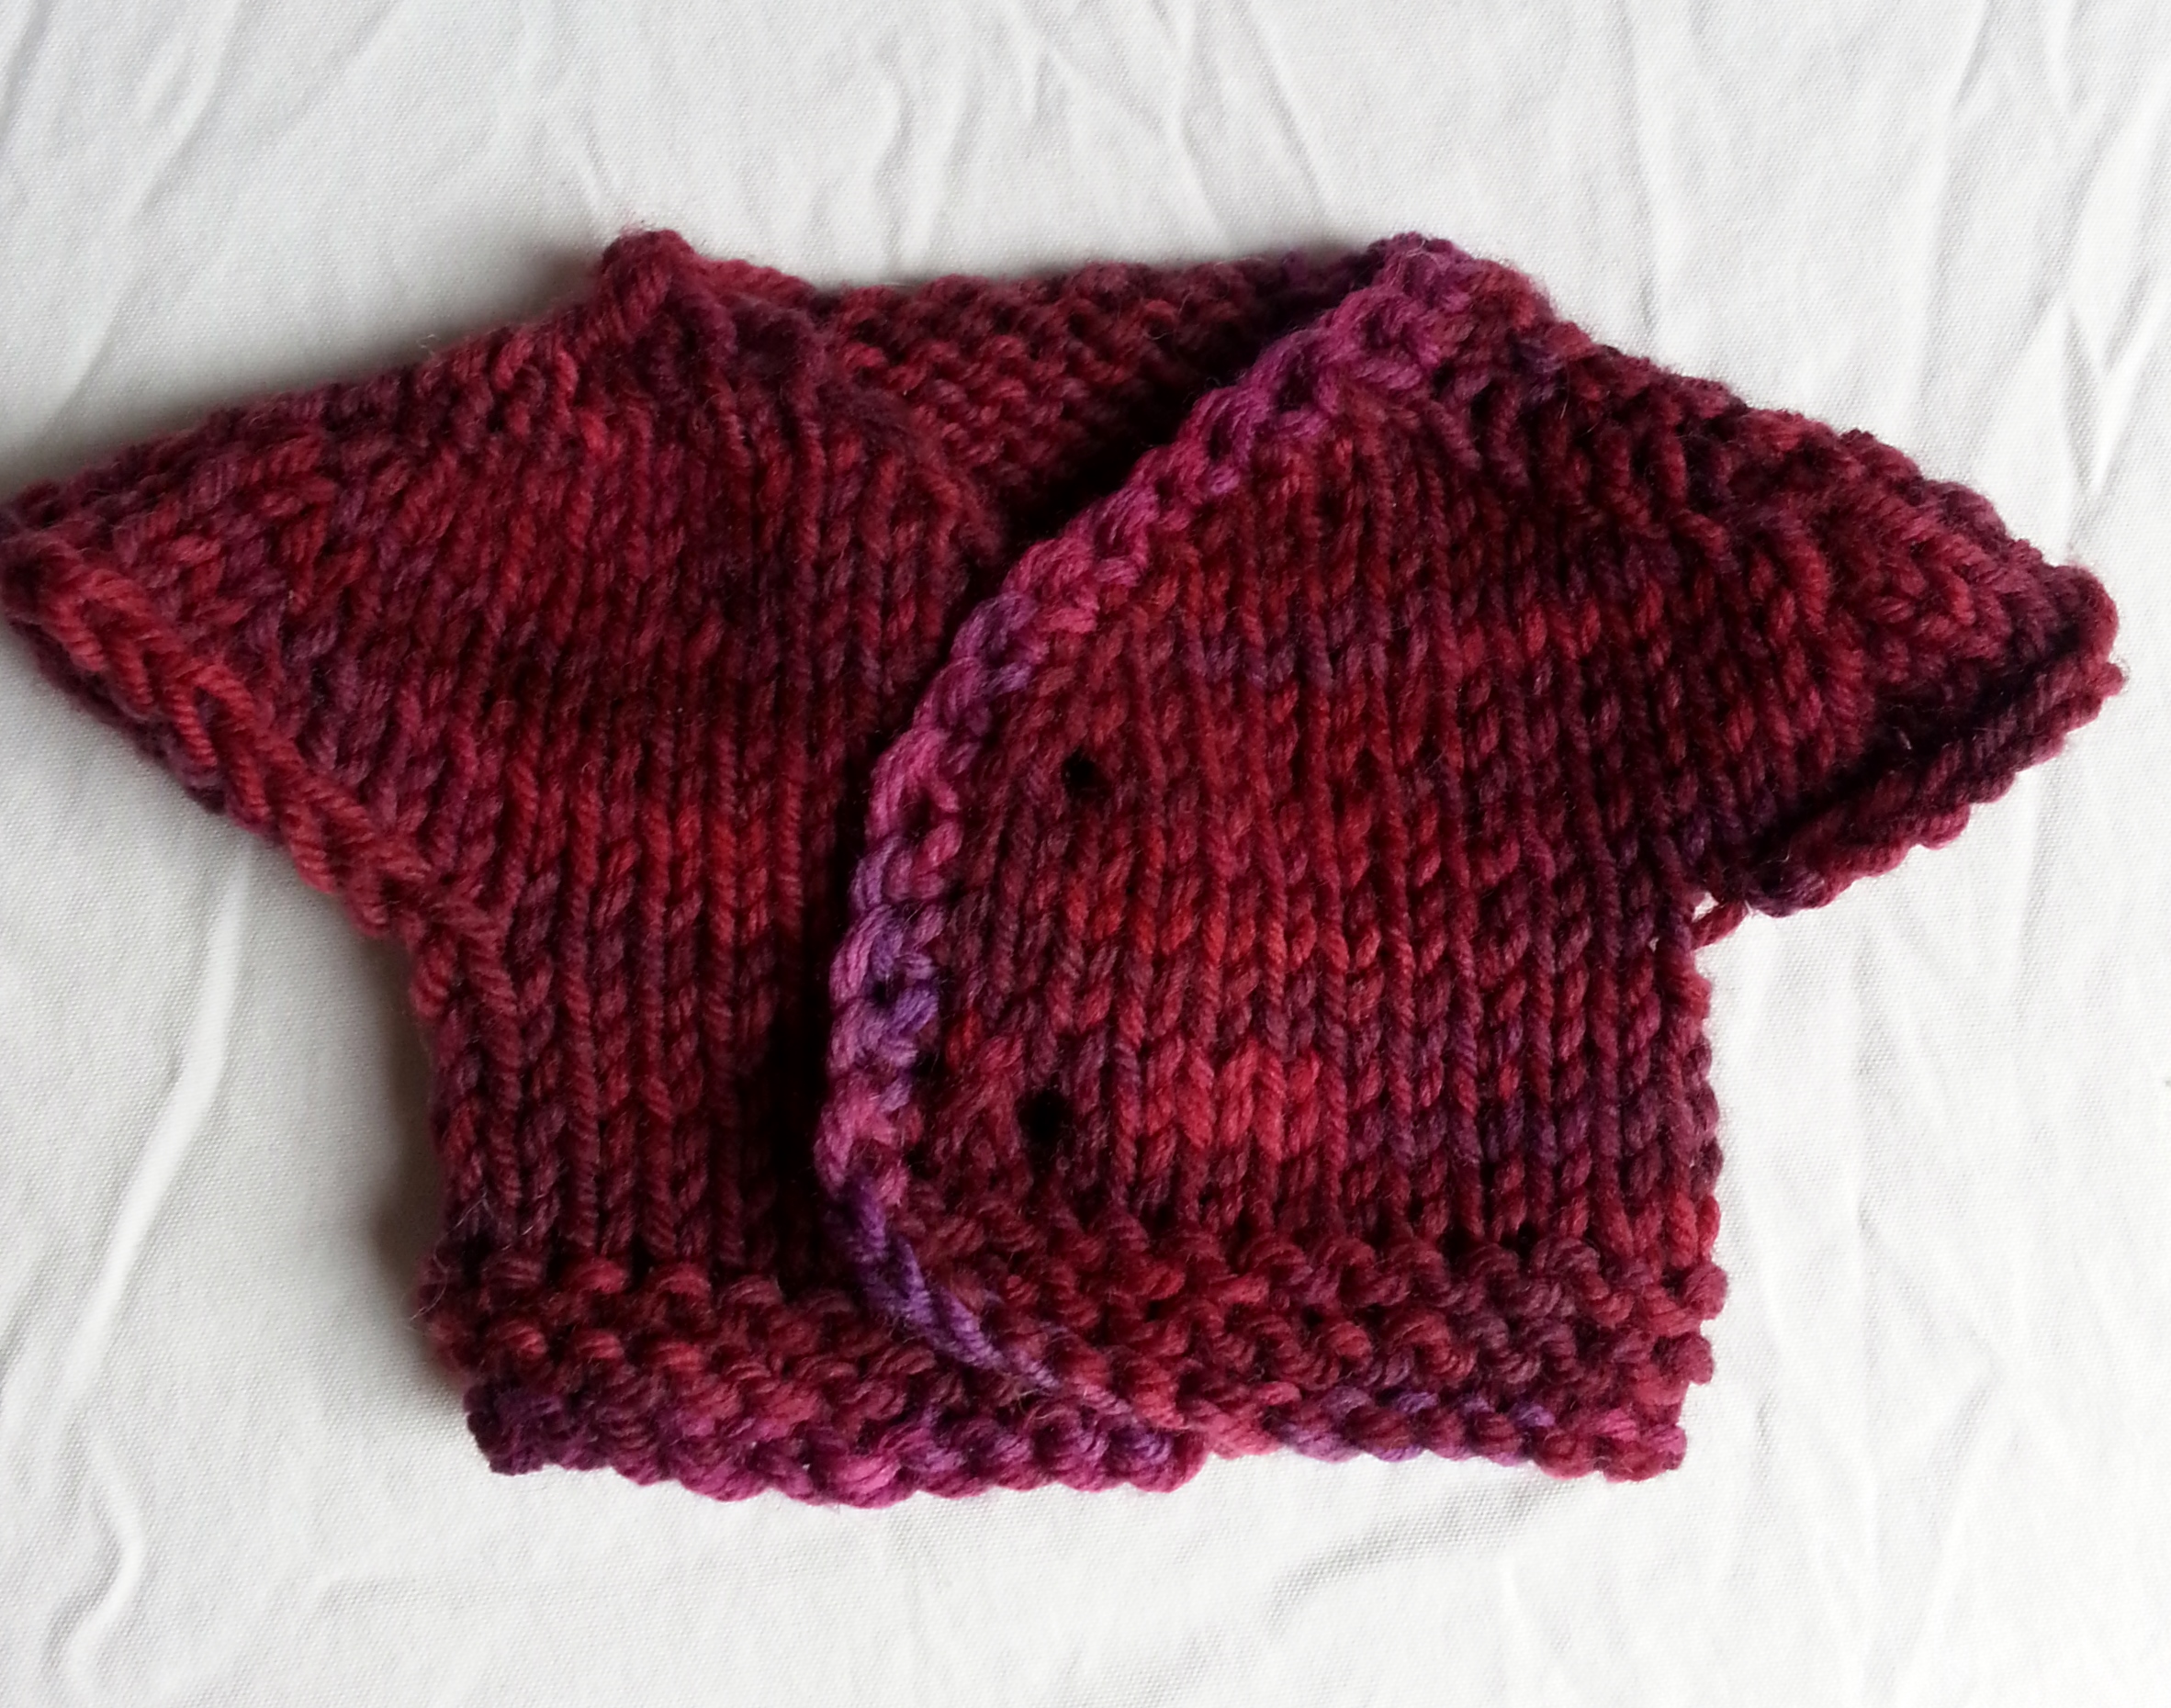
A skirt, hats and a baby sweater:

Knit doll's skirt knit hats for dolls Doll's sweater knit using the contigous method

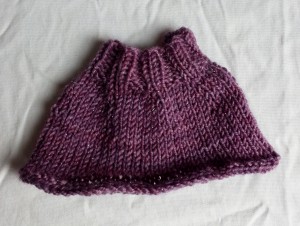
To make the skirt, cast on 32 stitches, and work k2, p2. On the wrong side, work the established pattern.  Repeat these 2 rows for 1 inch, then (K3 and M1) repeating to the end of the row.   Work in stockinette stitch for 3″ and finish off with 2 ridges of garter st. This is a great way to use up some leftover sock yarn.

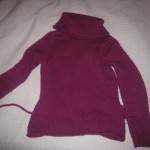
The sweater is made using the contigous method.  Look it up on Ravelry.  I can’t thank the creator of this method enough for sharing her creation with the world.  As you can see, I even make doll’s sweaters this way now. All you need to guess is the approximate width of the back of the neck. From there, you can adjust the shoulder and sleeve size as you go.


Unraveling

Last night I had an idea.

What if I take the sweater that I don’t like, made from a yarn I love and re-knit it.   I don’t like the sweater because I have a long torso and it’s really meant for women with a shorter torso so the waist hits me in the wrong place.  Also, the cowl is nice and warm, but it’s too much and it’s hard to layer.

It’s too late to back out – you can see why below. This was probably a bad idea.  First of all, I don’t have a pattern for the cardigan that I want to make and even a search on Ravelry has come up short.  Second, I probably won’t have enough yarn to even make the cardigan.  But I dove right in, as usual, and the sweater is now almost all in large balls of yarn.

I’ll have to create my own pattern for this.  Don’t get me wrong, there are many patterns out there that create perfectly fine comfy cardigans, but I want it to be one piece. I hate seaming and I think that it looks awkward, especially on yarn this thickness (2.5 sts to the inch).

Wish me luck! I’ll post something if I can actually figure out how to make this cardigan from the top down.

Knitting in one piece

I started this blog as a repository for patterns that I create as I knit for my children.  Often, I get frustrated by patterns that make separate back, left front and right front for a child’s sweater, not to mention the 2 sleeves.  That’s a lot of unnecessary seaming at the end, not to mention cutting of  yarn.

A few years ago I started making my own patterns, most of which I based on something that I wanted to make in one piece.  I’ll be honest – it’s possible that there are patterns out there that are similar to what I’ve done, but I just haven’t had the time to look for them when I need to make something.

I will document these on Ravelry (DariaMark is my name there).